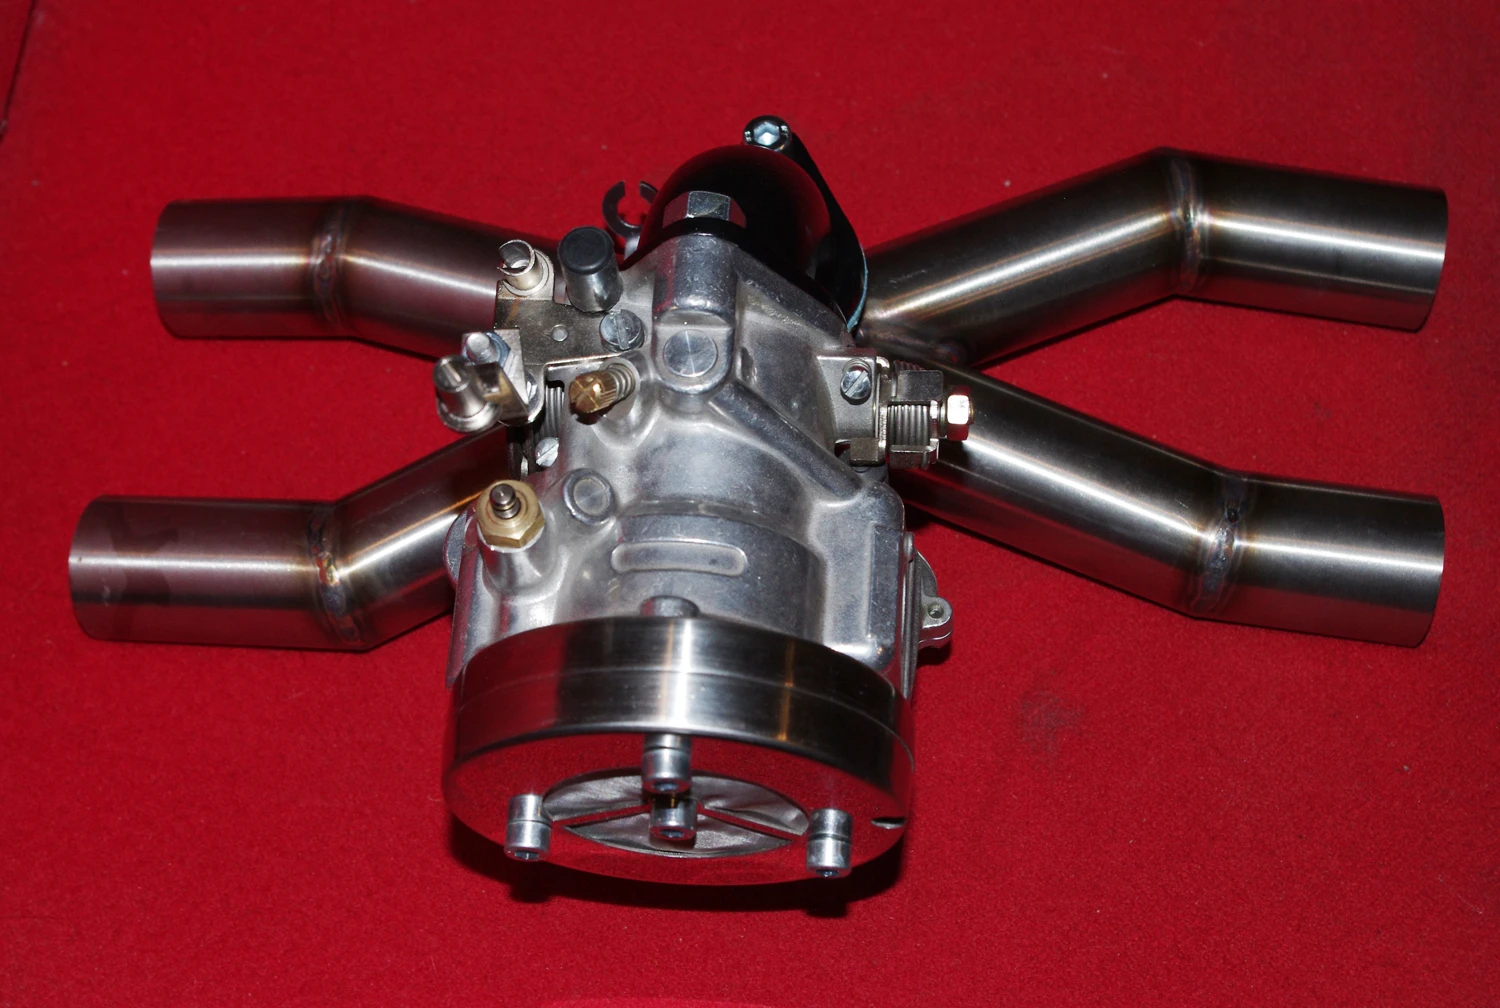
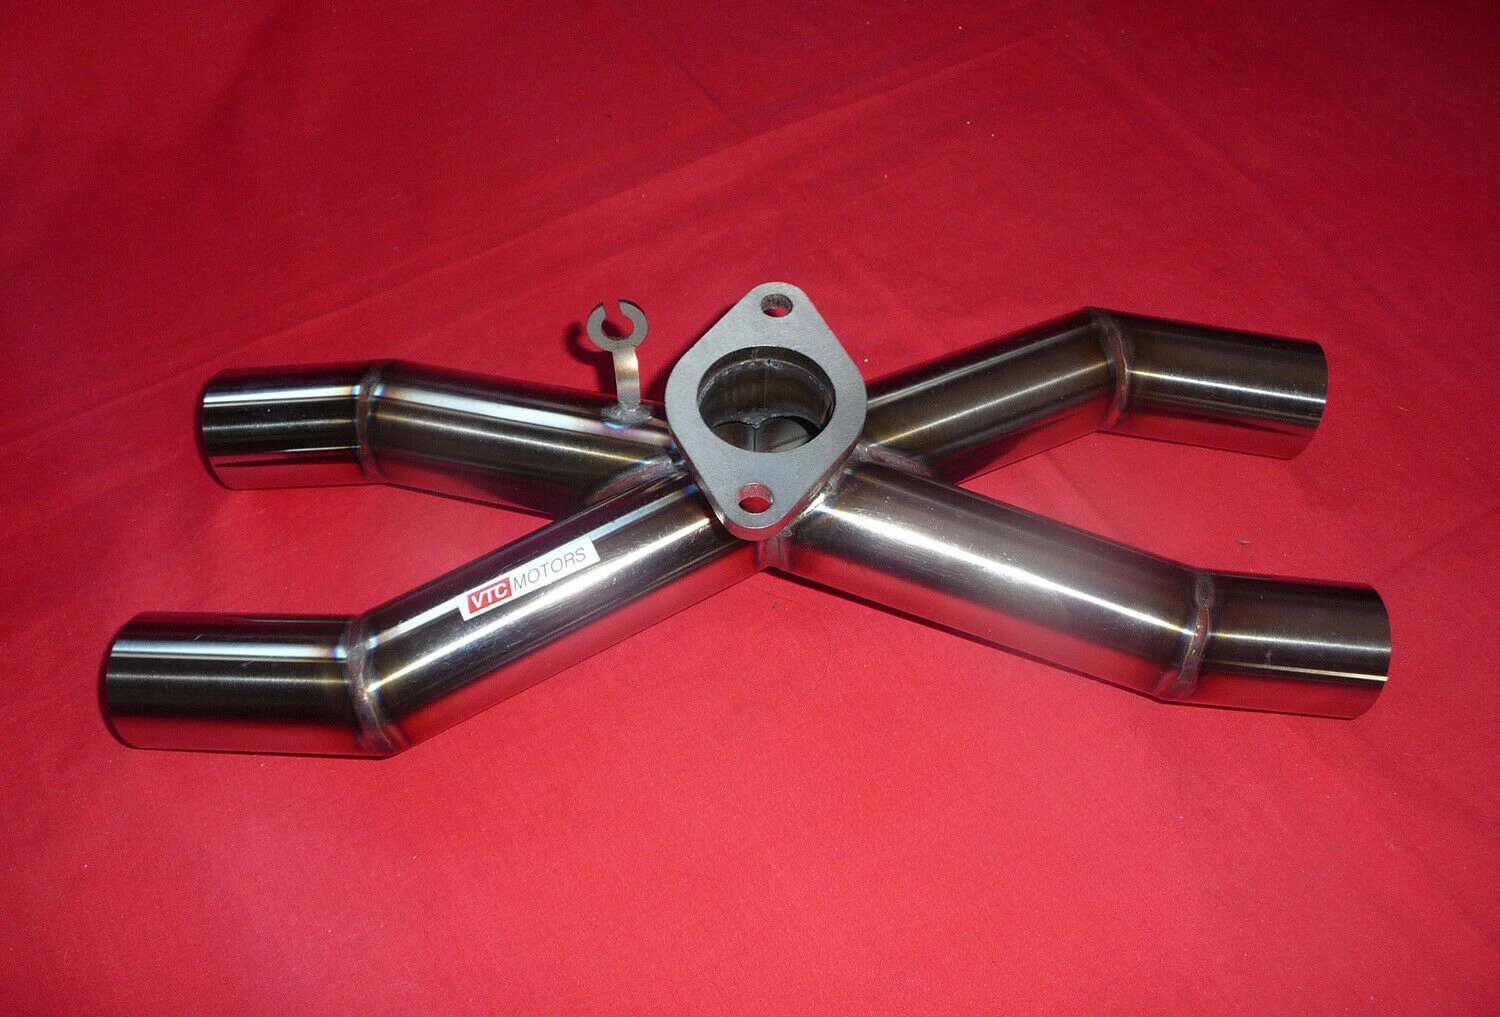
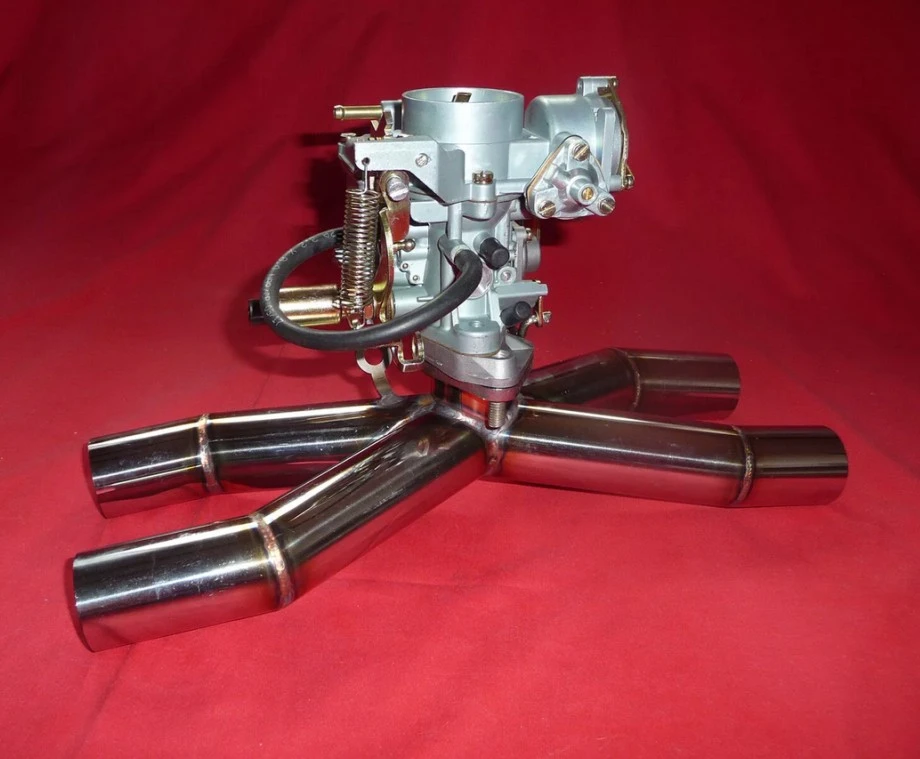
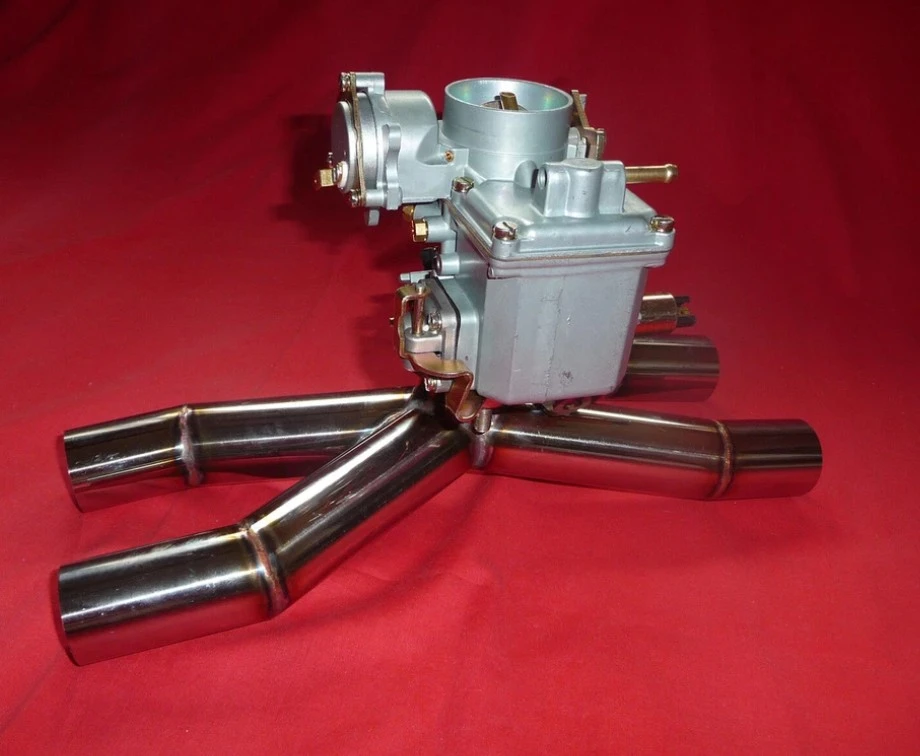
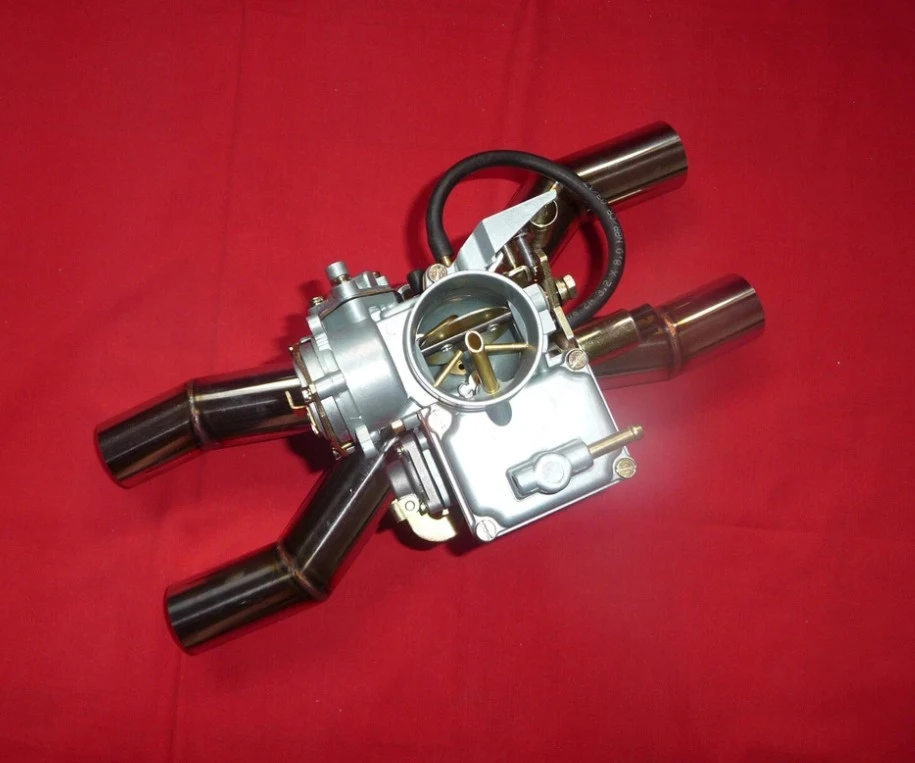
New design STAINLESS STEEL manifold with 99.9% optimized mixture flow. No sharp 90 degree angles
inside gives an open flow straight to the cylinders. Shape of this
manifold is designed the way that never leaves a leftover gas in it when
engine is off witch is different, comparing to other types of GL
manifolds in the market. This part is precisely engineered using a high
tech "Pipe Design" software, TruLaser 5000 tube profiling machine and of
course professionally TIG welded.
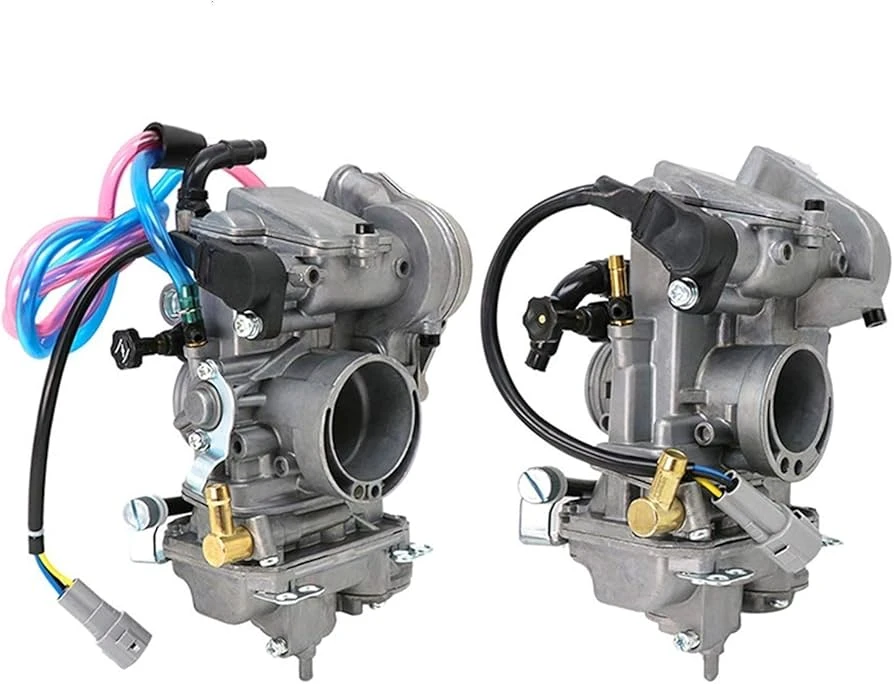
Manifold is designed to use low maintenance VW Type 1 30/34 PICT-3 carburetors.
Using this manifold avoids four carburetor maintenance, especially synchronization and improves fuel efficiency
Manifold
and carburetor will ship separately. 99% of the time they arrive on
different days. Usually carburetor will arrive sooner than manifold if
you are located in USA.
NOTE! This is not PLUG AND PLAY SET UP! For proper installation and tuning of this kit, a mechanical skills and knowledge about fuel supply is required. If you don't feel confident enough, I strongly recommend to get help from professional mechanic.
If you are not sure how
to complete your project or have not enough confidence how to do it
right, please DO NOT BUY IT!!! Don't waste yours and my time. I m not
taking returns at all, only if part is defective due to manufacturing
issues or so. No beginners or game
players please. I m working hard to make you old timers get back on the
road. Your cooperation would be appreciated. Thank you for
understanding.
Materials
Stainless Steel
Parts included
Manifold
Carburetor REPLICA
Installation Guide
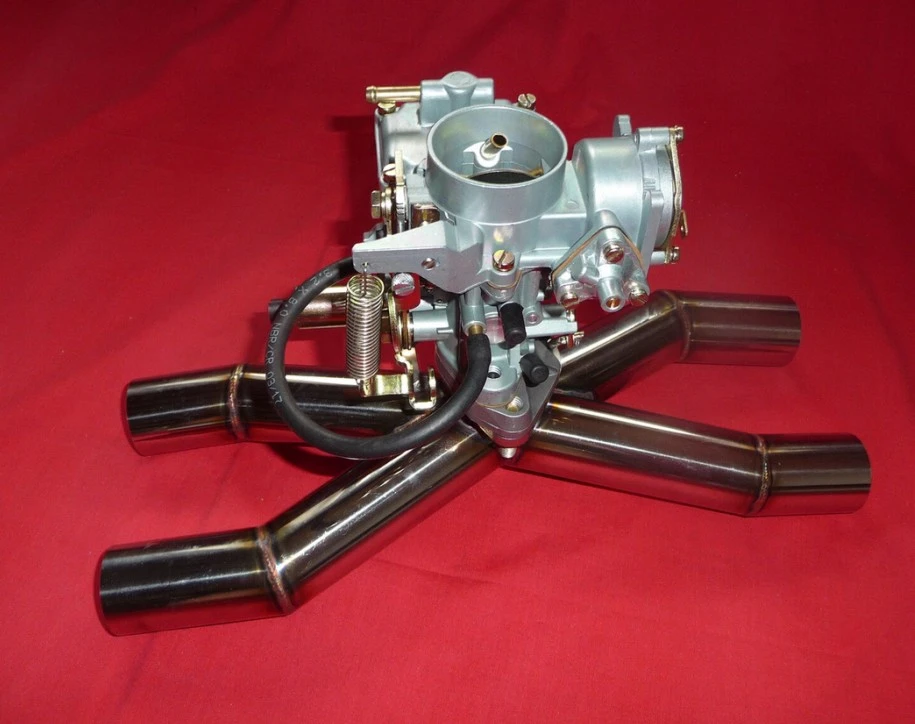
GoldWing Single Carburetor Conversion
Setup used only a single throttle control cable. Decelerate control and choke will not be used.
NOTE!
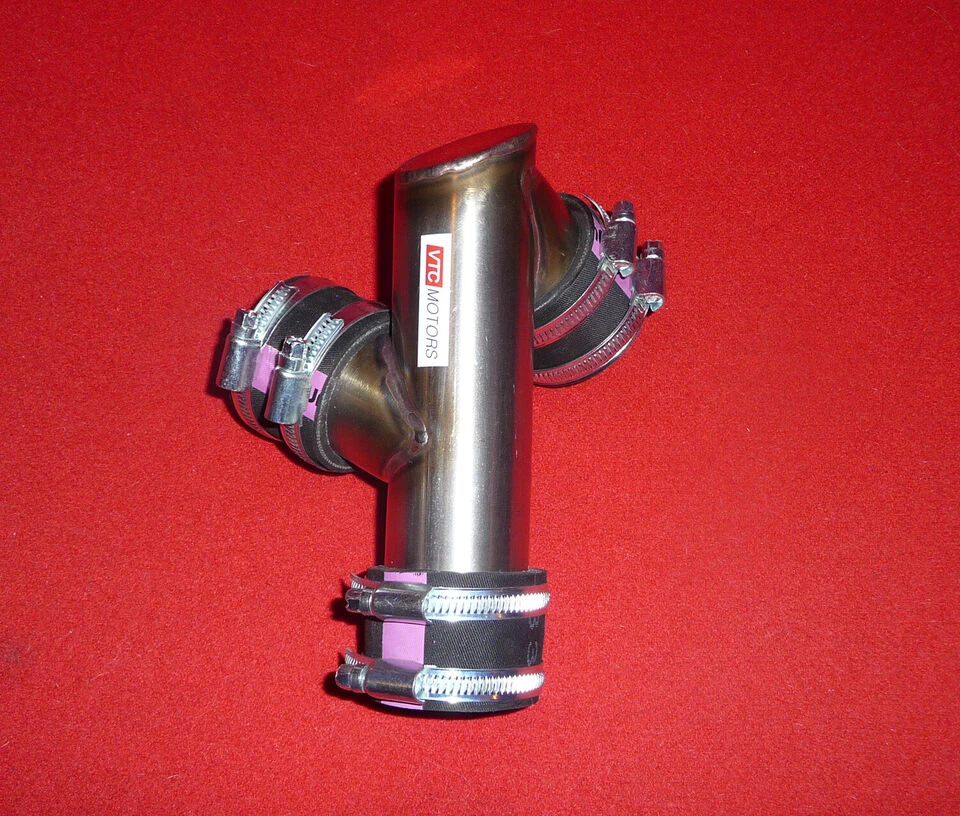
Installing intake elbows on the manifold use a regular hose clamps
instead stock ones. Stock clamps are with the limiters and might not tie
properly. Recommended spark plugs with heat range No 6 by NGK.
1. Remove intake boots, control cables, fuel lines etc.
2.
Remove existing carb setup. Note: Remove carb assembly from left
side of engine. Removal of right front air piston cap will aid in
removal on some models
3. Install intake boots onto new manifold making sure rubber flanges are in good condition
4. Install new manifold with intake boots back on engine and reinstall flange bolts
5. Tighten boot clamps with 1” stainless 10-32 bolts (These are needed due to the larger diameter runners)
6. Install carb w/throttle control on the right side (Throttle cable bracket side)
7.
Locate positive + electrical source (any live wire to the ignition
will do and fuse box under top cover is the best location)
8. Connect 2 wires (positive + terminal) upper screw, right side of fuse box and verify
9. Connect 1 wire (negative – terminal) lower screw, right side of fuse box and verify
10. One positive + wire attaches to the electrical choke, the other positive + wire attaches to the air cut valve
11. Attach ground wire to carb body
12. Install fuel line, throttle cable and optional air filter
13. Turn ignition to ON position with engine in cutoff position
14. Crank engine a few times to allow fuel into carb
15. Recheck all connections (clamps, cables, fuel lines)
16. Start engine and idle for a few minutes
17. Decelerator cable should be removed to avoid cable jamming and choke cable can be zip tied inside tank cover
18. Get out of the garage and hit the road

 Fast Delivery all across the country
 Safe Payment
 7 Days Return Policy
 100% Authentic Products